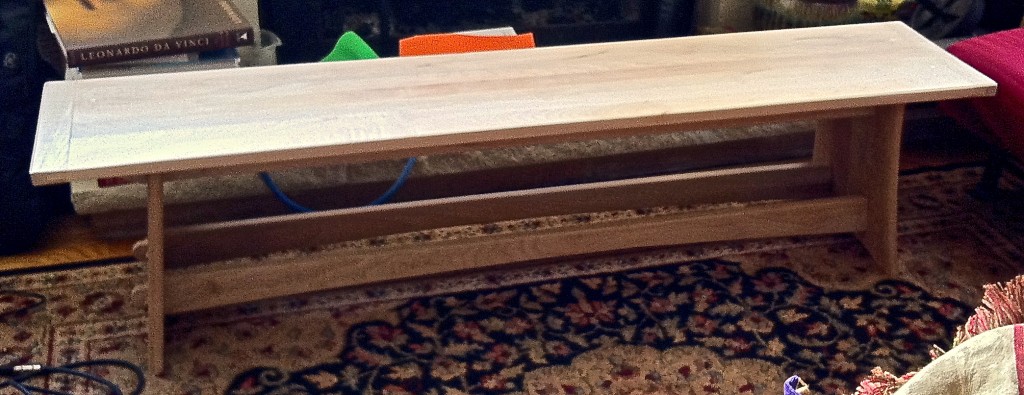
it started out to be a sailmaker’s bench, but went upscale somewhere…
The Problem with not planning your projects is that it generally means that you don’t know when you’re done. This project started out to be a Sailmaker’s bench, but if you look them up, you’ll see that I didn’t really conform to the ideal…
Working benches are a wonderful category of furniture. Sailmaker’s benches and Cobbler’s benches are of a variety of purpose-built furniture that tend to the less ornate end of the spectrum. but this does not restrict their complexity. The best examples are the ones that look like they were build for a very particular craftsman, (craftsperson if you like, but I’m going to skip over gender issues here, thank you… (you can just sort of assume I’m non-discriminatory…)) who probably started on a very simple, unmodified bench, and over the course of a (hopefully) successful and (more hopefully) happy lifetime of work was modified to be, or replaced by, purpose built to that particular person’s dimensions and habits. The needles go just here, stuck into a length of rope that was nailed to the surface, a corral was screwed on just here to keep small scraps from falling off the end of the bench, a hole was drilled here to hold the hammer, the edge has been worn off just here, etc. I went to an antique show some time back where there must have been four or five of the cobbler benches being sold as side or coffee tables. they varied from the simple, just a few little compartments in a corral area, to the ridiculous, with several tiers of little drawers, a cushioned leather seat, and heavily worn and darkened areas indicating that it was heavily used (or at least expertly antiqued…) Like many tools at antique shows, it was a bit sad that they weren’t being sold at a more practically minded venue.
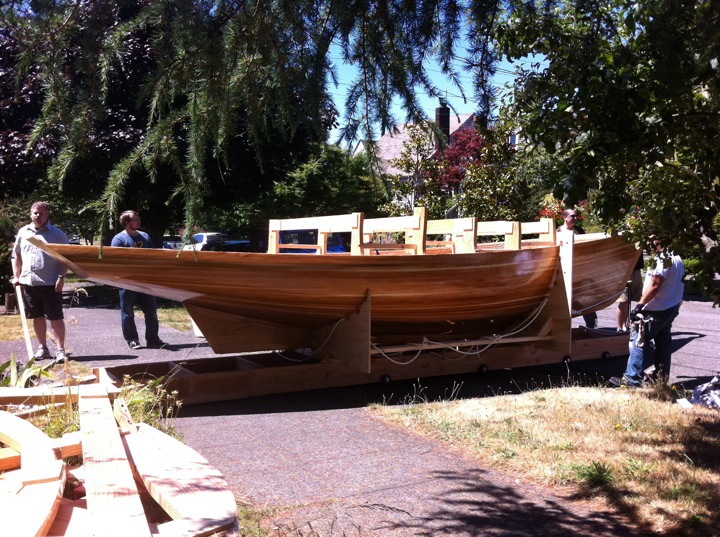
So given that I’m building a boat, and preparing to do a lot of the associated tasks along the way, (rigging, sailmaking, etc.) I thought a good sailmaker’s bench would be useful… The design was constrained, as much of my recreational work is now, by the monstrous pile of inch-thick maple planks that a friend gave me a couple of years ago. (most of a tree actually.) but as I started to think of ideas, it occurred to me that I had never made sails before, (much less, cobbled.) And while I could scour google for images and references to sailmaker’s benches, I couldn’t really get more than an inkling for why certain things were where they appeared to be on the bench. I learned how to sew when I was young, but not in a trade environment, so I probably do things in a fairly non-traditional manner. I decided, or rather resolved, that I wasn’t going to make ‘a’ bench. I was going to make a test bed. this is my simple unmodified bench. somewhere in the near future is another bench. I have four sails to make, hopefully by the fourth sail, I’ll have sorted out what really needs to be a permanent fixture on a sailmaker’s bench and where it goes.
Watch this space for updates.


