Category Archives: Craft

Workbench Additions

since I had to give up the built-in bench that was part of the old house, I’ve had to make some additions to the three-day workbench.

Leg Vise
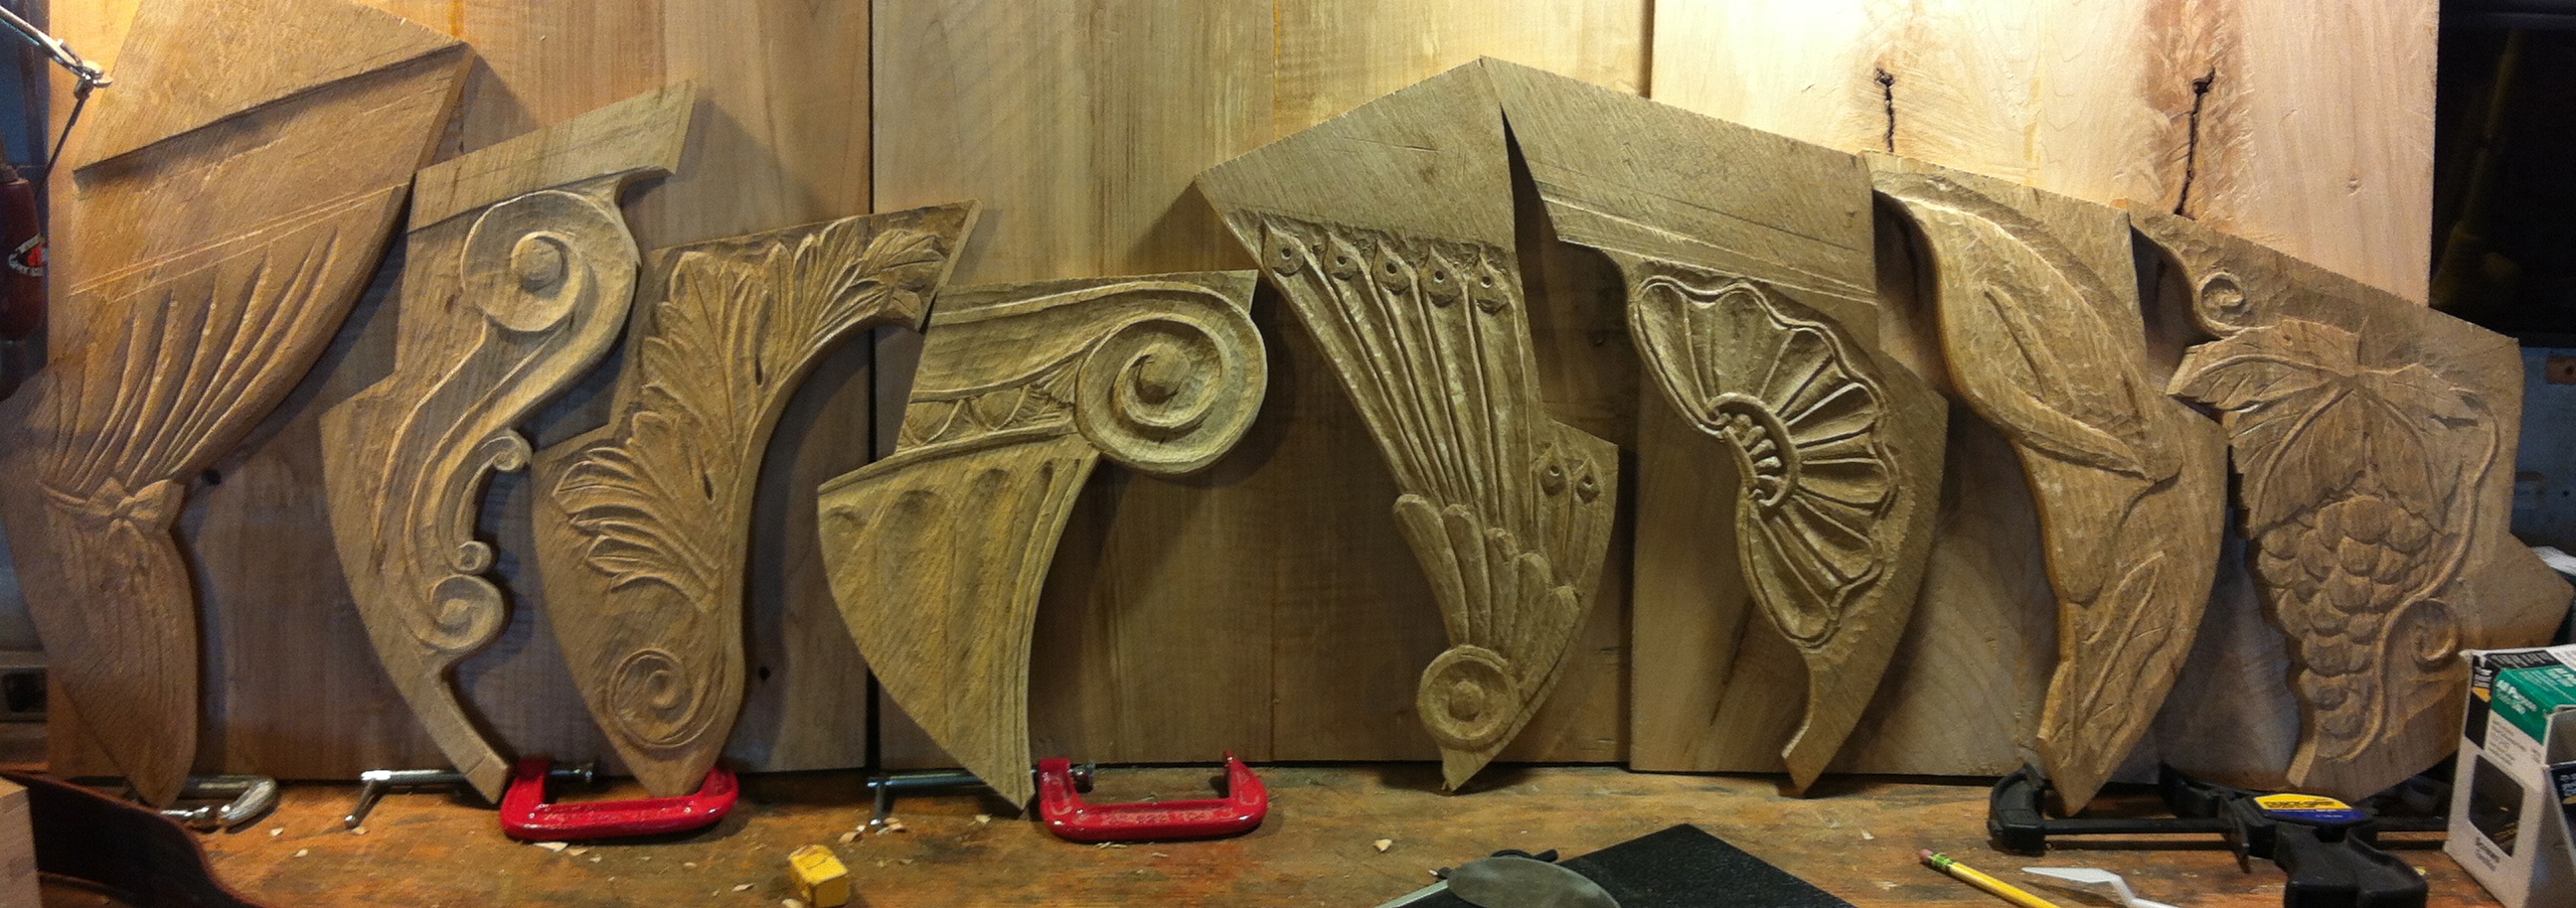
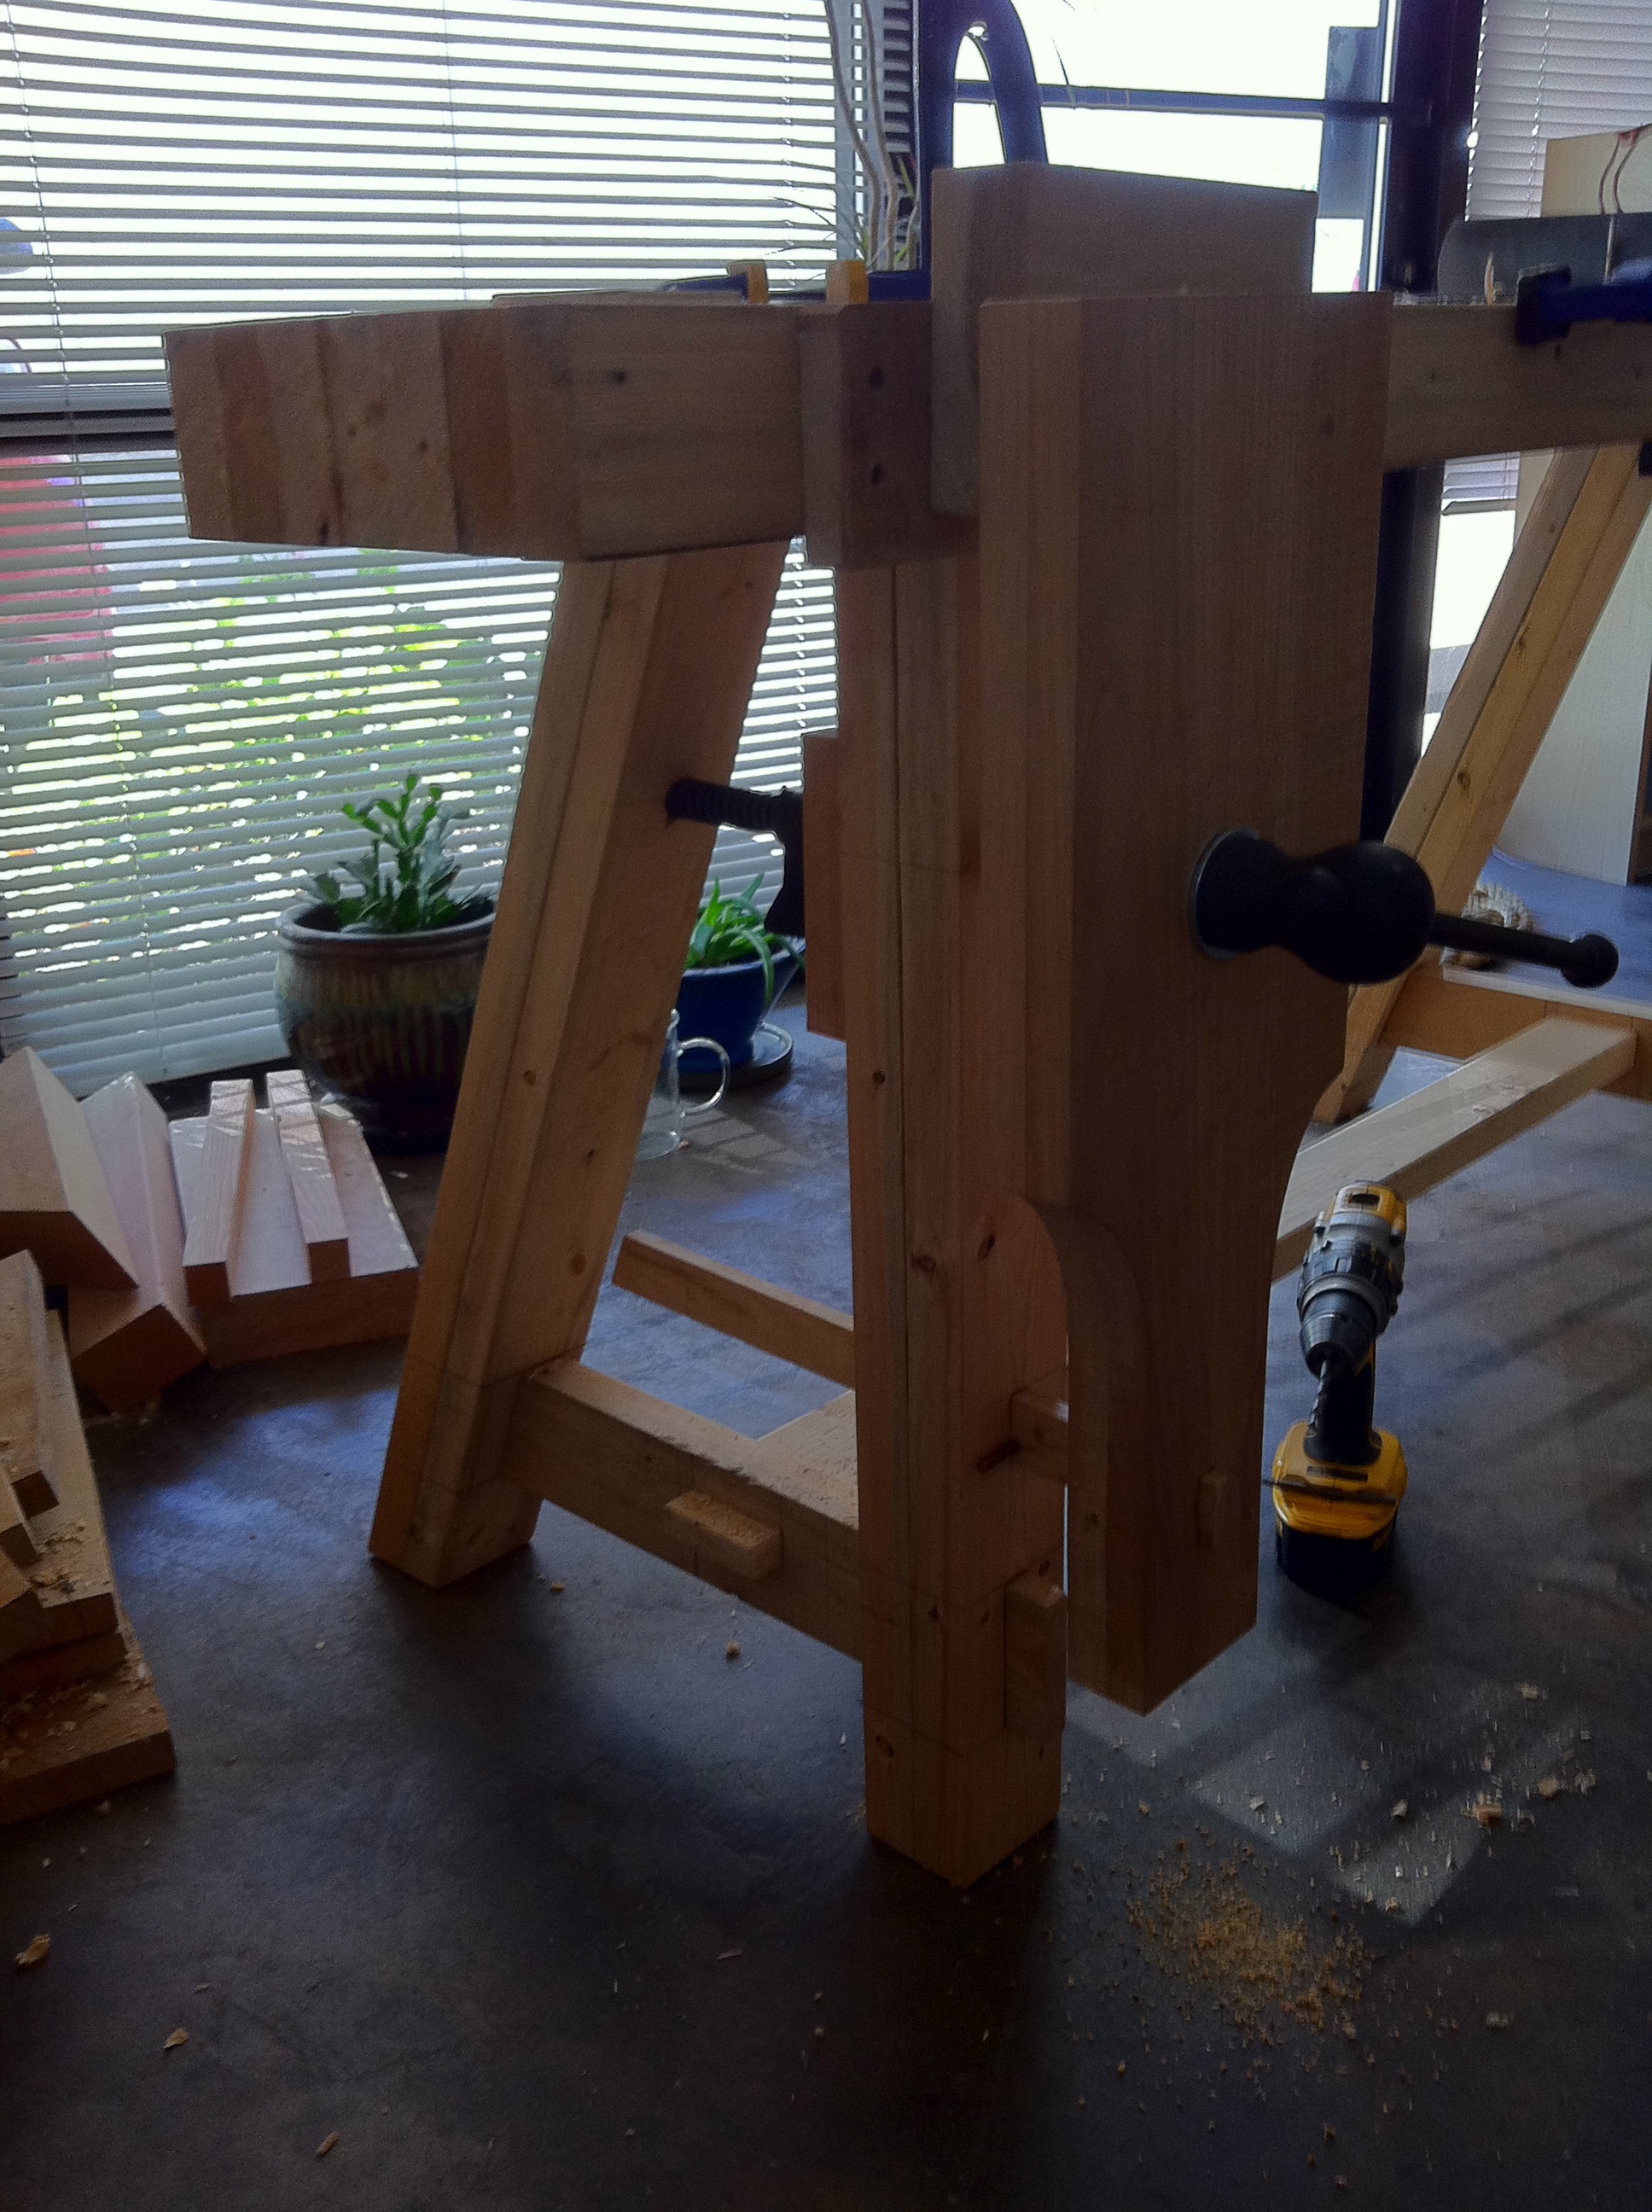
At this point, it no longer quite lives up to the name…
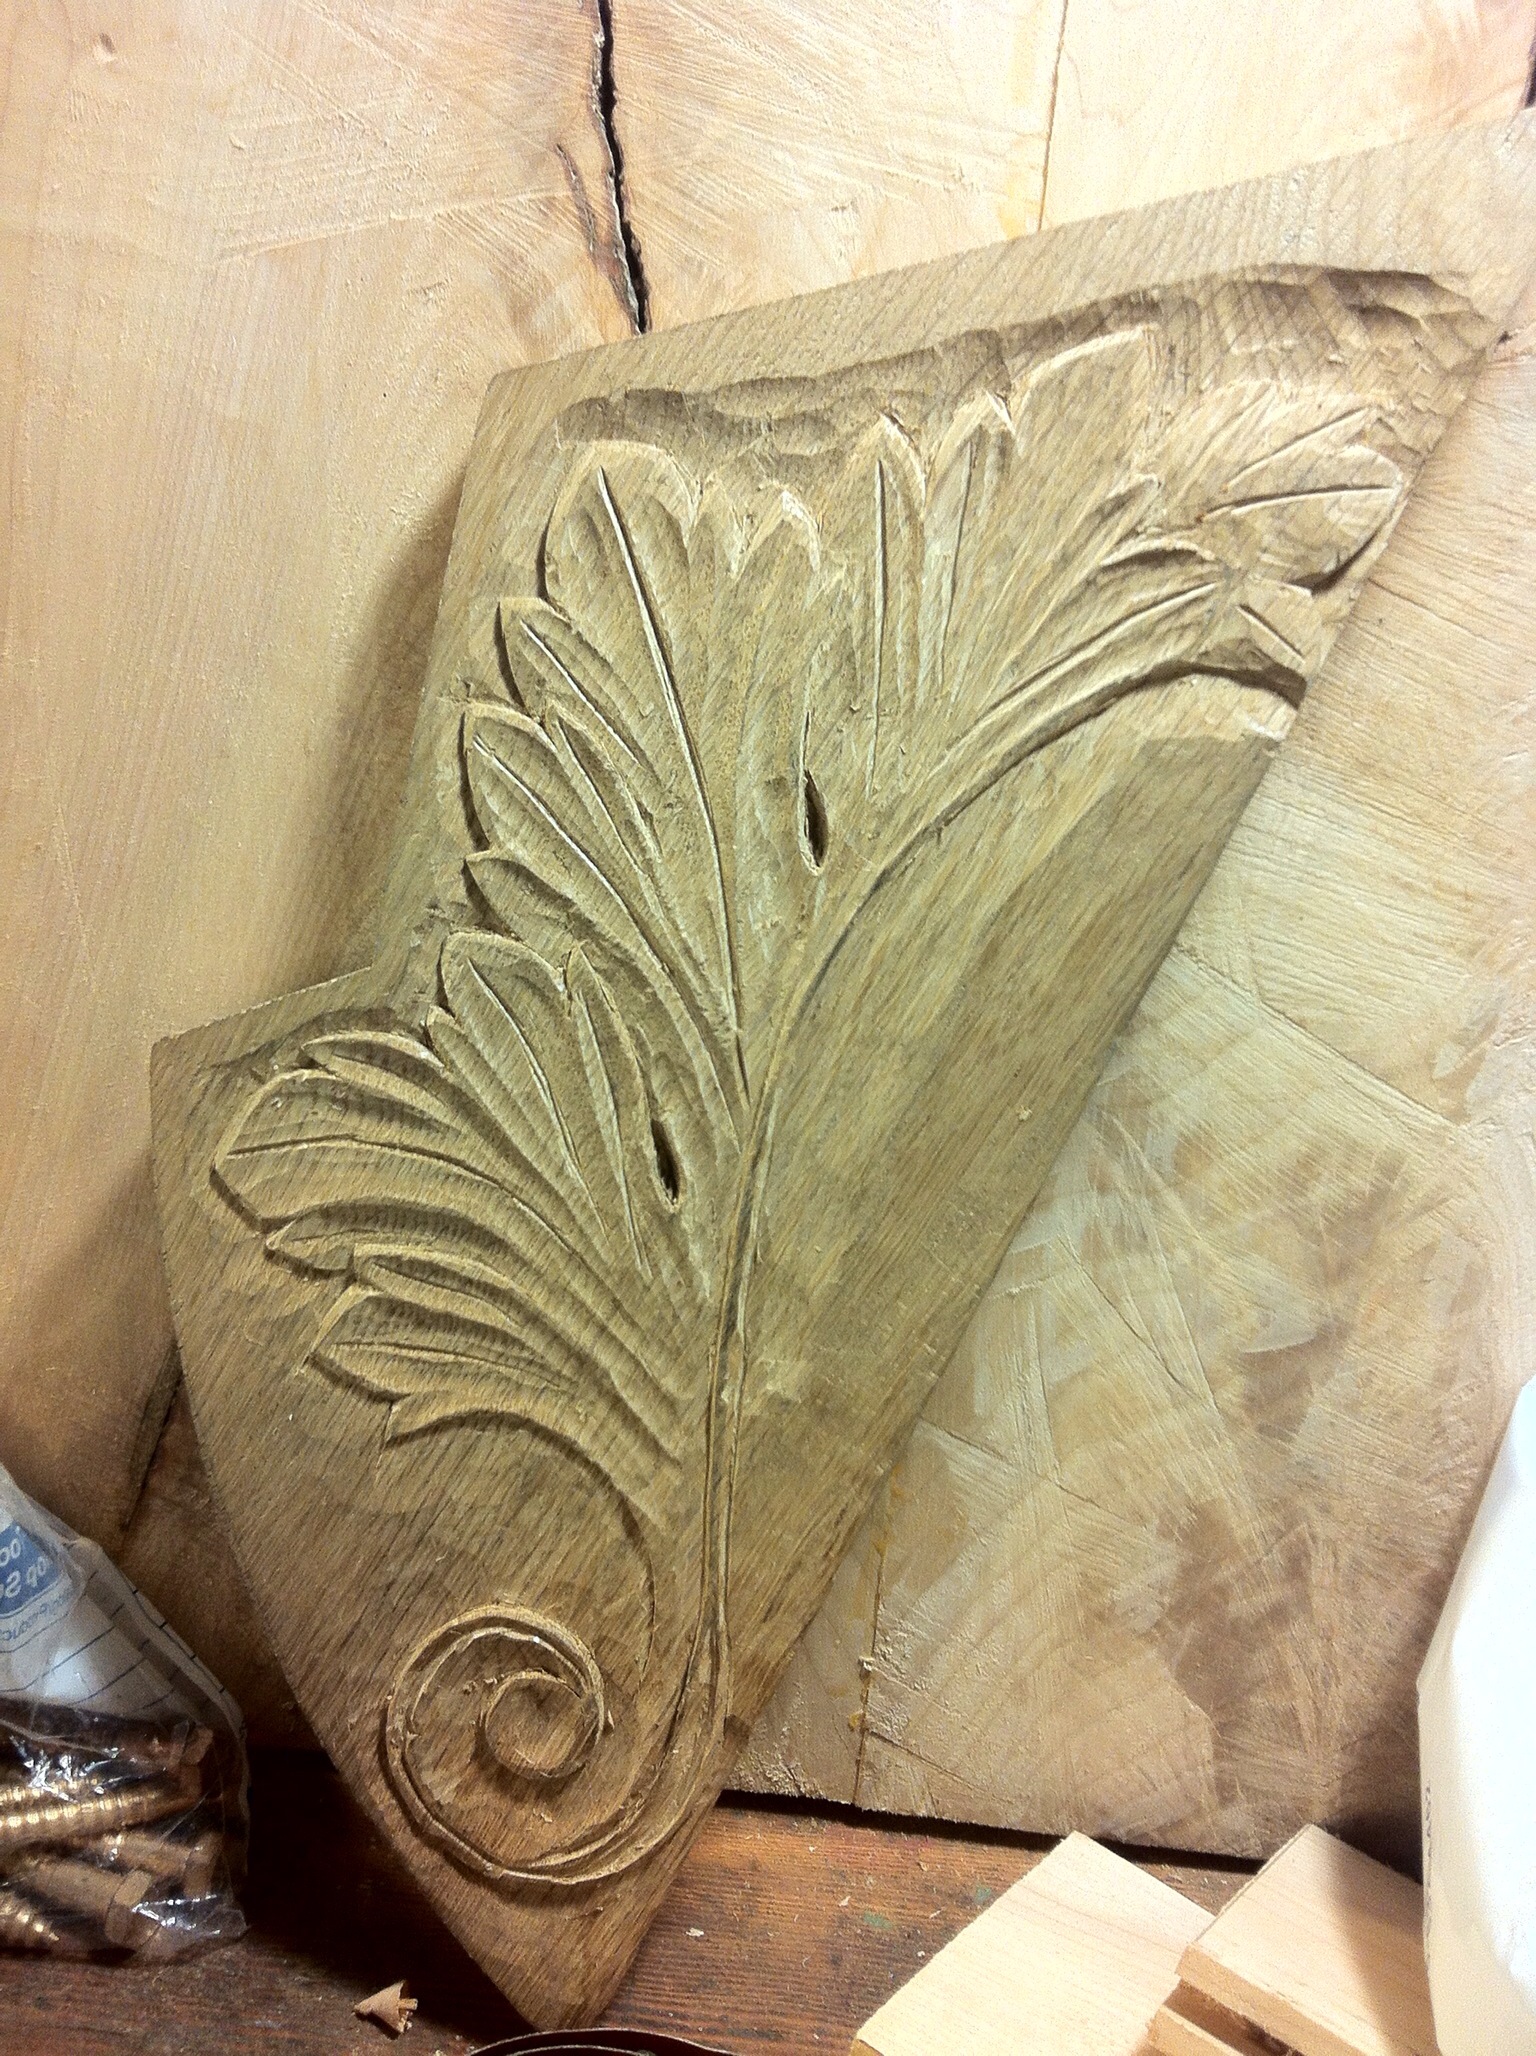
I think I might have placed the screw a couple of inches higher, for better leverage, but this does allow for somewhat wider lumber.  the old iron face vise is down the other end doing duty as a tail vise, though I wasn’t paying enough attention to the fact that it was a 2 1/2″ tall vise, which has led to an interesting jaw extension…

still need to make a tool tray…


oh my aching knees…

IMG_4808all the hanging knees for the back of the boat, these will be mounted beneath the cockpit decking, so once in place you’ll never really get to see them again without crawling through a tiny space…

this may seem a little pointless…  but they are there because I want them to be.   and they make me feel better.

so there 😉

from left to right: the curtain, baroque, acanthus, ionic order, art deco, newport shell, art nouveau, and wine grapes.


Acanthus leaves

Acanthus leaves are a common part of classical decoration. Part of the classical Corinthian style, they area a motif that has aged well, and can be made to look both classic and modern, sometimes simultaneously.

Acanthus leaf carving

curiously, much of the acanthus in decor bears little actual resemblance to the leaves of the acanthus plant. This example from the Palatine hill in Rome is a pretty good example.

I have not done a particularly good job of aping the original plant or even the classical motif, but over all I think I got the basic flavor about right…

pictured is one of a set of hanging knees supporting the deck of my boat in the cockpit area. once the deck goes on, this will not be readily visible to anyone who is not crawling around where they shouldn’t be, but it seemed worth it nonetheless. 17 more to go, but I’ll be trying out a different design on each one.

Maybe sometime I’ll add something about my carving technique, but for an initial bit of free info, carving in dry white oak is more than a little bit of a pain in the ass…

details, details…

The nice thing about building your own boat is that you can add little things everywhere…

IMG_4750


there are a lot of parts to the boat that will likely never be seen by anyone ever again once the deck goes on, but sometimes I feel that they need a little extra attention anyway.  I remember the big deal that the Art History teachers made of the fact that the pediment sculptures on the Parthenon were sculpted in the round despite the fact that no one would ever see the backs of them when they were inset into a gable 40 feet over your head.  theoretically to appease the gods, but I suspect more likely that the sculptors just couldn’t leave well enough alone… or were being paid by the hour…

so in this case, on the side of the oak cockpit frame, roughly where your feet would get to if you were completely tucked under the seats sleeping, goes this little flower.

there will probably be more…

side note: two things that this has taught me are a) having a selection of gouges is important, and b) gouges are bloody expensive…

James May’s Man Lab

I’ve recently become enamored of James May’s Man Lab. Well worth the viewing, even if you fast forward over some of the more sociological (and cringeworthy) bits of the show. the actual making of things is great.

and somehow it doesn’t come off as patronizing… why oh why is there not this kind of programming on this side of the pond… or for that matter why oh why will the bbc not let me pay a license fee for the iplayer out here in the pacific northwest?

Precision Technology

precision drilling

right on the mark from the far side!  I was allowing myself about an 1/8″ leeway in hitting the mark, but spot on!  out of the 12 holes drilled, I was less than a millimeter off with 9 of them the other 3 were just inside my allowed limits. interestingly I had the most trouble with the holes on the left end of the pieces.  not sure why.

brings up the idea of when to use a power drill and when to use a manual brace and bit. in principle, I have no particular preference, I have both. but I think that if you’re particularly worried about getting it straight, (and being able to correct on the fly,) the brace is the only way to fly. not to mention it’s a lot quieter…


Three day workbench

thought that it might be worth a try to construct a more traditional workbench, just to see if any of the multitude of words spilled on the subject were actually worth anything.

starting from an episode of the woodwright’s shop and a large shipping crate that had served it’s purpose, I resolved to build a simple french style workbench. I used this particular size of bench as it was designed to be relatively narrow. and I only had 8 or so 2x4s to work with. much has been said about what wood you should use for the top of a workbench. I prefer what I have available…

the vice may yet get installed, it was rescued from a built-in that needs to be burned...

the first step was to laminate the top.  since I was going to be flattening the top facing surface when I was done anyway, but I wanted the underside joinery to be regular, I clamped the 7 2x4s together with the uglier sides facing the table top. this meant that the bottom of the table would be pretty flat without having to do any work on it. I planed the mating faces lightly for a good glue surface and laid it up.

second step was to figure out the legs.  the only addition I made to Underhill’s original was to add a ‘trestle’ stretcher between the legs, rather than a tool box.  though you never know, I might add one later…  for the technically curious who might wonder what angle the back leg is at, it’s at whatever angle it takes to get the leg to stay under a 9″-11″ wide tool tray that has as yet not been added. (if you really must know, it’s in the vicinity of 70º.) the bigger question should be “how tall is it?” and “does it make a difference?” Answers: “just shy of grazing my knuckles when standing relaxed with my arms by my side,” and, “Hell yes.” proper table height for a particular task is a worthing thing to spend some time figuring out. your back will thank you… quickly…

things to do with flour

I find it interesting to look at baking recipes and deconstruct them. During the times when I found myself with the least funds, I made it a bit of a mission to figure out just how far I could go with a bag of flour. it turns out you can go a surprisingly long way…

flour and water
pasta. very simple, make a pile of flour, dig a well into the middle of the pile, add water and begin to stir with a fork. as you stir, flour will begin to be picked up by the water, and as you continue, the mixture will become firmer and firmer until you have a dough. remove the dough from the rest of the flour and knead it a bit until velvety, then wrap it up and rest it for a while. when it’s settled, roll it out and cut it into noodles. cook in boiling water for a couple minutes and voilá, dinner. additionally, if you use more water and end up with a kind of soup, just leave it alone, somewhere warm, for a few days and it will start to bubble. add a bit more flour to thicken it up a bit and let it bubble for a while longer then bake. tada! you’ve made sourdough bread. yeast doesn’t have to come from a jar of packet.
flour, butter, and water
pie crust. simple concept, possibly difficult execution. use a couple of knives or a pastry cutter to cut the butter into the flour. when the butter is all granular, (no piece bigger than a small pea,) add just enough water to get the powder to hold together. the objective here is to add the water and mix it in without causing the flour to develop any gluten it might have. gluten free flours actually win out here… food processors are good for this, but they tend to cut the butter too finely for my tastes. Also puff pastry. actually, between pie crust and what’s generally called mille feuille (thousand leaves) there seem to be an infinite number of variations that all end up doing roughly the same thing. which is to use butter as a way of separating thin layers of flour from each other. I did a more detailed look at puff pastry a couple of months ago.

coming soon, we’ll add an egg…

drawing straight lines…

a friend of mine growing up used to quote her art teacher’s heavily nasal intonation: “an artist does not use a ruler!” 

but drawing straight lines freehand is tricky. the best advice I ever got was similar to Gretzky’s advice about playing hockey, “skate where the puck’s going, not where it’s been.” the mistake that many people make when picking up a pencil and trying to draw is that they look at the end of the pencil.

one of the neat things about the kinesthetic sense is that you can put your finger where you think it ought to go without looking at your finger, you look at where you want to put it, and your finger moves there in the most efficient way possible. generally a straight line.  you do the same with the pencil. so the steps are:

  1. put pencil where you want the line to begin. 
  2. move your eyes to look at where you want the straight line to end.
  3. move the pencil point to that point. just leave it in contact with the page.

try it, you’ll be amazed how straight your lines become.

it is surprisingly tricky however. due to much practice with handwriting, people are pretty used to looking at the tip of the pencil to see what they’re writing. you don’t focus at the end of the line when you’re writing at the beginning.  it is a skill worth cultivating, so work at it.